
Creating your own wall art can be a fun and rewarding DIY project. Here’s a step-by-step tutorial to guide you through the process of painting your own wall art:
Materials Needed:
- Canvas or Wooden Board:
- Choose a canvas or wooden board as your painting surface. You can buy pre-stretched canvases or use a piece of plywood or MDF.
- Paints:
- Acrylic paints are a popular choice for DIY wall art due to their versatility and quick drying time. You can also experiment with oil paints or watercolors depending on your preference.
- Paintbrushes:
- Have a variety of brushes in different sizes and shapes for various techniques. Flat brushes are great for large areas, while round brushes work well for details.
- Palette:
- A palette for mixing your colors. This can be a traditional artist’s palette or even a disposable plate.
- Palette Knife (Optional):
- A palette knife can be used for creating texture and unique effects in your painting.
- Water or Medium (Depending on Paint Type):
- Have water for acrylics or a medium for oil paints to thin or clean your brushes.
- Easel:
- An easel will make it easier for you to paint, but you can also work on a flat surface if you prefer.
- Drop Cloth or Newspaper:
- To protect your workspace from paint splatters.
Steps:
1. Inspiration and Planning:
- Decide on the style and theme of your artwork. Look for inspiration online or create a simple sketch of your ideas.
2. Prepare Your Workspace:
- Cover your workspace with a drop cloth or newspaper to avoid making a mess. Set up your easel or lay out your canvas on a flat surface.
3. Prime Your Canvas (Optional):
- If you’re working with a raw canvas or wooden board, you might want to apply a primer to create a smooth surface for your paint.
4. Sketch Your Design:
- Lightly sketch your design onto the canvas using a pencil. This will serve as a guideline for your painting.
5. Mix Your Colors:
- Start with the primary colors and mix them to create the desired shades. Experiment with color combinations to achieve the look you want.
6. Start Painting:
- Begin painting your design, starting with the background and working your way to the foreground. Don’t worry about making mistakes; you can always paint over them.
7. Experiment with Techniques:
- Try different painting techniques such as blending, layering, and stippling to add depth and texture to your artwork.
8. Let It Dry:
- Allow each layer of paint to dry before adding another. This prevents colors from mixing unintentionally.
9. Add Details:
- Once the base layers are dry, add details and refine your artwork. Use smaller brushes for intricate work.
10. Seal Your Artwork (Optional):
- If you want to protect your artwork and give it a finished look, consider applying a clear sealant or varnish once the paint is completely dry.
11. Display Your Art:
- Once your artwork is finished and sealed (if desired), you can hang it on your wall and enjoy your personalized DIY wall art!
Remember, the most important thing is to have fun and express yourself through your artwork. Don’t be afraid to experiment with different techniques and styles. Happy painting!
Certainly! Let’s delve into some additional tips and ideas to enhance your DIY wall art:
12. Texture and Dimension:
- Experiment with adding texture to your artwork. You can use a palette knife to create interesting textures in the paint, giving your piece a three-dimensional feel.
13. Incorporate Mixed Media:
- Combine different art mediums to add depth and interest. Consider incorporating elements like collage, fabric, or even small objects that resonate with your chosen theme.
14. Create a Color Palette:
- Choose a cohesive color palette that complements the room where your artwork will be displayed. This can tie the piece into your overall home decor.
15. Use Stencils or Masks:
- Stencils can be a handy tool for creating intricate patterns or shapes. You can also use masking tape to create clean lines and geometric designs.
16. Play with Contrast:
- Experiment with contrasts in both color and tone. A mix of light and dark areas can make your artwork visually dynamic and engaging.
17. Abstract Expressionism:
- Embrace abstract art by allowing your emotions and intuition to guide your brushstrokes. Abstract pieces often convey a sense of freedom and spontaneity.
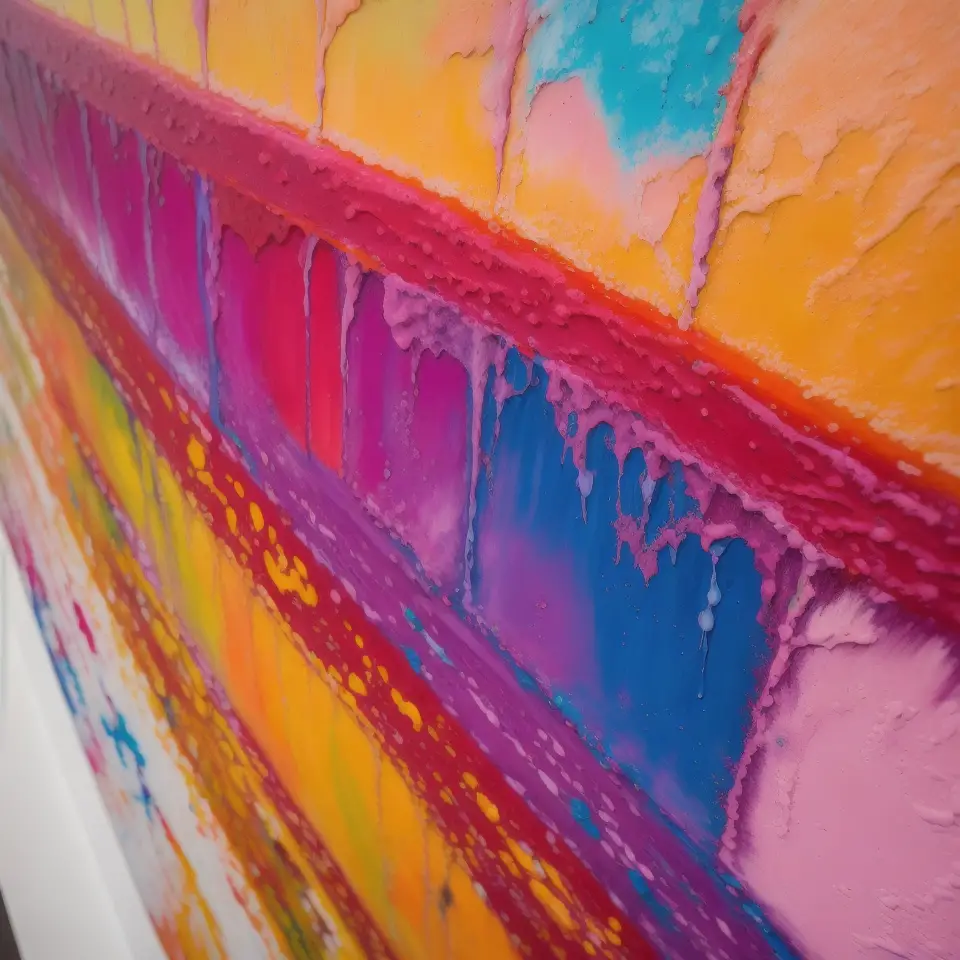
18. Experiment with Pour Painting:
- Try the trendy technique of pour painting. Mix your paint with a pouring medium and let it flow across the canvas, creating unique and unpredictable patterns.
19. Create a Series:
- Develop a series of related paintings that can be displayed together. This can add a thematic element to your wall and tell a story through your art.
20. Personalize with Quotes or Words:
- Add meaningful quotes, lyrics, or words that resonate with you. This personal touch can turn your artwork into a statement piece.
21. Glow in the Dark Paint:
- For a surprising element, consider using glow-in-the-dark paint. This can create a captivating effect, especially in rooms with low lighting.
22. Collaborative Art:
- Invite friends or family to join in the creative process. Collaborative pieces can be a fun and memorable way to create unique art.
23. Gallery Wall:
- If you create multiple smaller pieces, arrange them in a gallery wall for a striking display. This can be a great way to showcase your creativity and fill a larger wall space.
24. Reflect Your Style:
- Let your personal style shine through. Whether it’s minimalist, bold and vibrant, or soft and muted, your artwork should reflect your aesthetic preferences.
25. Document Your Process:
- Take photos at different stages of your painting. Not only does this create a visual diary of your artistic journey, but it can also serve as inspiration for future projects.
Remember, there are no strict rules in art—let your creativity flow and enjoy the process of bringing your vision to life on canvas!
Absolutely! Let’s explore some more techniques and considerations for your DIY wall art:
26. Inspiration from Nature:
- Draw inspiration from the beauty of nature. Create landscapes, floral patterns, or abstract representations of natural elements.
27. Layering and Depth:
- Experiment with layering to create depth in your artwork. Build up layers of paint to add richness and complexity to your piece.
28. Monochromatic Art:
- Try working with a single color or shades of one color. Monochromatic art can be sophisticated and visually impactful.
29. Mindfulness Painting:
- Turn your painting session into a mindful practice. Focus on each brushstroke, and let the process of creating art become a form of relaxation and meditation.
30. Create a Focal Point:
- Designate a focal point in your artwork. This could be a central object, a burst of color, or a unique texture that draws the viewer’s eye.
31. Art with a Purpose:
- Consider creating art that serves a specific purpose in your home, such as a headboard painting or a statement piece for the living room.
32. Explore Geometric Patterns:
- Geometric patterns can add a modern and structured feel to your artwork. Experiment with triangles, circles, or hexagons to create visually appealing designs.
33. Mood and Emotion:
- Use color and brushstrokes to convey different moods or emotions. Warm colors can evoke coziness, while cool colors may create a calming atmosphere.
34. Whimsical and Playful:
- Let your inner child out by creating whimsical and playful art. Use bright colors, imaginative shapes, and unexpected elements to bring a sense of joy to your space.
35. Negative Space:
- Embrace the power of negative space. Sometimes leaving areas of your canvas untouched can be just as impactful as painting on them.
36. Experiment with Resists:
- Use resists like wax or masking fluid to create interesting effects. Apply them to areas you want to protect, paint over them, and then reveal the untouched areas later.
37. DIY Stamps or Stencils:
- Create your own stamps or stencils for unique patterns. This allows you to repeat certain motifs across your artwork for a cohesive look.
38. Art from Recyclables:
- Upcycle old materials or use recyclables in your art. This not only adds an eco-friendly aspect but also challenges your creativity in working with unconventional materials.
39. Sgraffito Technique:
- Try the sgraffito technique by scratching or etching into the wet paint to reveal the layers underneath. This can add a captivating level of detail to your work.
40. Reflect on Your Progress:
- Take breaks during your painting sessions to step back and reflect on your progress. This can help you identify areas for improvement or guide your next steps.
Remember, your art is a reflection of your unique perspective and creativity. Don’t be afraid to take risks, try new techniques, and most importantly, enjoy the process of creating something that is truly yours. Happy painting!